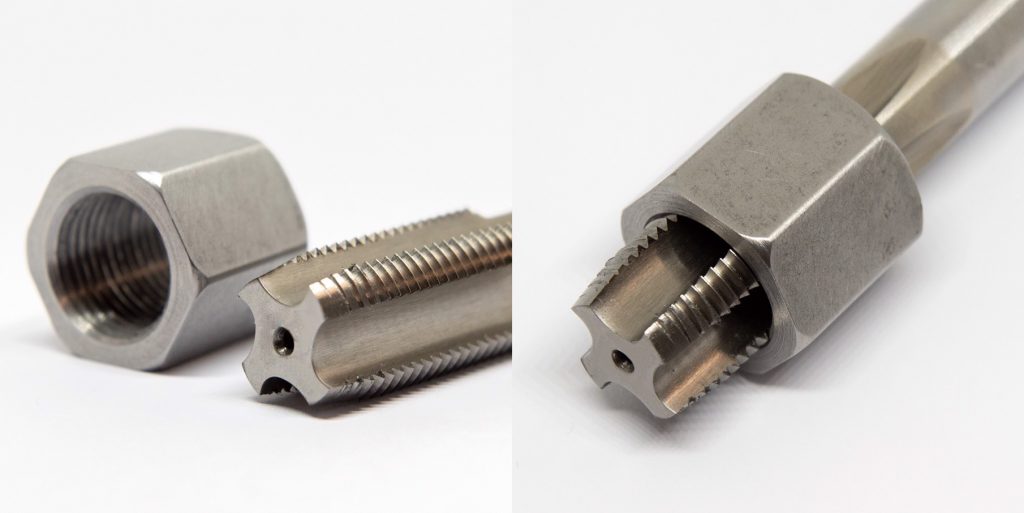
Thread is a continuous protrusion surrounding the spiral inclined surface of the side of a cylinder. It is widely used in mechanical engineering as used for the connection of mechanical parts and power transmission.
There are several different ways to classify threads as follows:
1. Formed location
The thread formed on the outer surface of the cylinder or cone is called the external thread, and the thread formed in the inner hole is the internal thread
2. Coil direction
Right-handed (clockwise direction) and left-handed threads (counterclockwise direction). Right-handed threads are the most commonly used.
3. Different units of measurement
Metric thread is generally 60-degree angle
British thread is generally 55-degree angle
4. Thread body shape
The general thread, straight/tapered pipe thread, trapezoidal thread, rectangular thread, and sawtooth thread, etc. The first two are mainly used for connection, and the last three are mainly used for transmission
It can be seen that the measurement method of screw thread is not like the measurement of a straight line or curve from point to point. It has specified tolerance specifications and measurement methods for threads. This time we briefly introduce 4 conventional thread inspection methods:
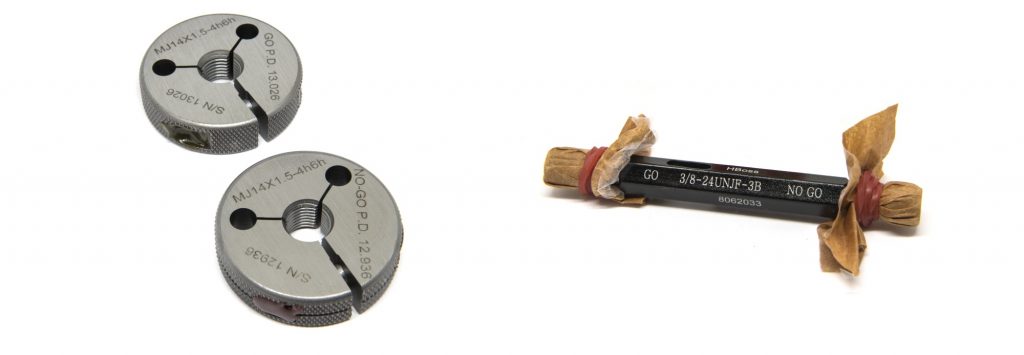
1. Inspection with thread gauges
For general standard threads, thread ring gauges or plug gauges are usually used for measurement. For ISO threads, the common tolerance of the external thread is 6g and the internal thread is 6H; For UN threads, the common tolerance of the external thread is 2A and the internal thread is 2B.
When inspecting external threads, if the thread ring gauge “GO” side is screwed in, but the “NO-GO” side is not screwed in, it means that the machined thread is qualified, otherwise it is unqualified. When measuring internal threads, use threaded plug gauges and measure them in the same way.
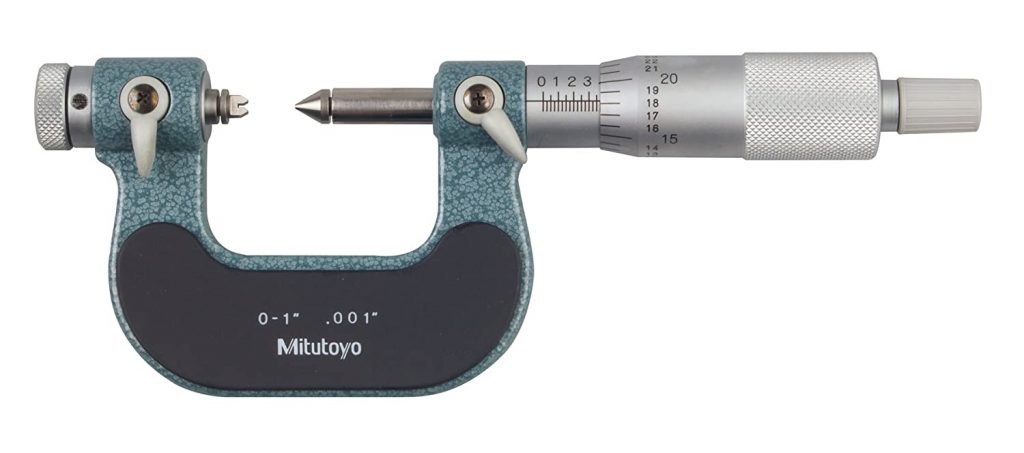
2. Measure with a thread micrometer
The thread micrometer is used to measure the pitch diameter. It is generally used to measure the triangular thread. Its structure and use method are the same as the external micrometer. It has two contact heads with the same thread angle, one is a cone and the other is a concave groove. A series of measuring contact heads are available for different tooth profile angles and pitches.
When measuring, the two contact heads of the thread micrometer are stuck on the profile surface of the thread. The obtained reading is the actual size of the pitch diameter of the thread.
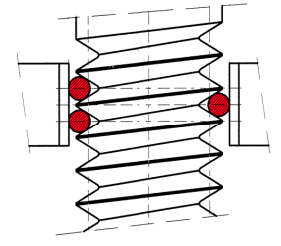
3. Three-wire gauge measurement method
It is a method of measuring the pitch diameter of a thread with measuring needles. When measuring, place three measuring needles with the same diameter on both sides of the thread groove, and then use an appropriate measuring tool (ex. micrometer) to measure the distance between the needles. And then enter the formula to calculate and verify whether the thread pitch diameter is correct.
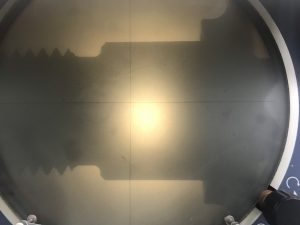
4. Optical projectors measurement method
Both the external thread and the half-section cut internal thread
can be directly analyzed with the projected planar images. At the same time, the quality of the angle and tip of the thread can be checked, whether there are burrs, incomplete teeth, etc., which affect the use of the screw.
To sum up, the commonly used thread gauges for thread inspection can only tell you pass/fail. To measure the effective diameter (pitch diameter), a three-wire gauge or thread micrometer is required. Other dimensions such as major/minor diameter, pitch, and tooth angle require the help of a projector. At present, only projector measurement can measure these dimensions at the same time, but the measurement accuracy and speed are lower than the other methods. Since the purpose of the thread is screwing in/out and assembly use, it is enough to use the thread gauge to check whether it is compliant. This is also the most commonly used thread inspection method at present.
You can find the photo display of the CNC machining parts made by us HERE!
